EV Charger Installation Cost 2026: Complete Home Charging Setup Guide

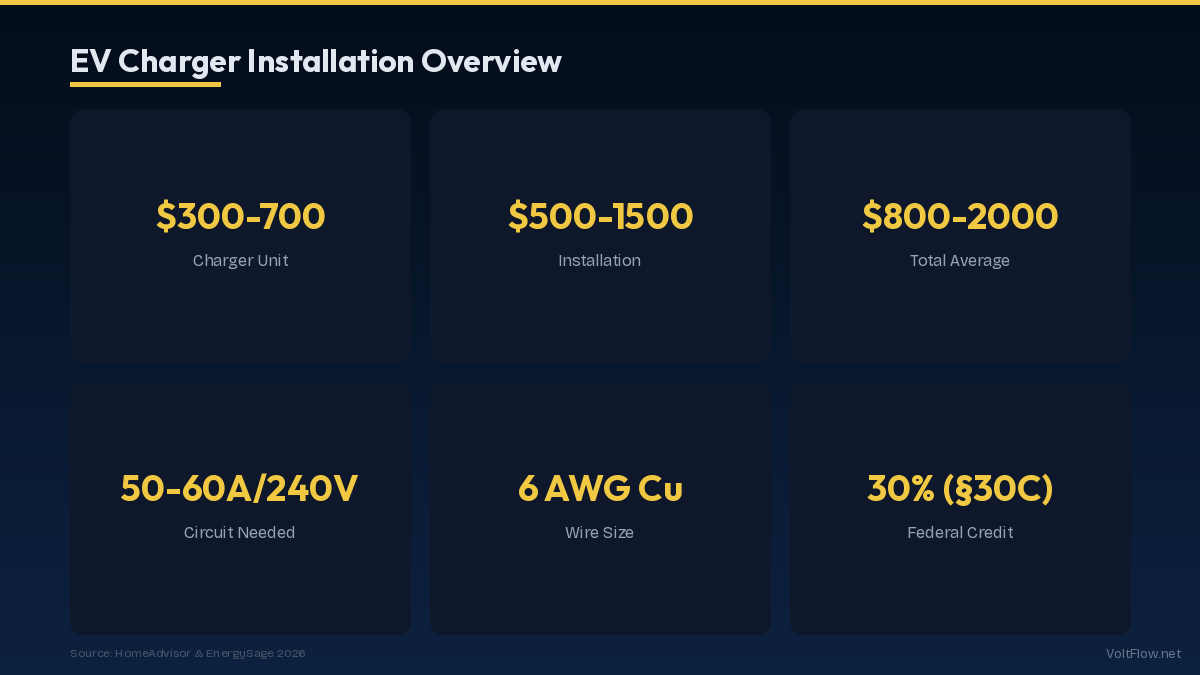
Installing a home EV charger is the single best investment for electric vehicle owners, eliminating the inconvenience and premium cost of public charging. In 2026, the total cost for a Level 2 home EV charger installation ranges from $800 to $2,500, covering the charger unit itself ($300-$700) plus electrical work ($500-$1,800). This guide breaks down every cost factor, explains the different charger options, and helps you choose the right setup for your vehicle and electrical situation.
Level 2 EV Charger Unit Costs in 2026
The charger unit, also called Electric Vehicle Supply Equipment or EVSE, is the hardware that mounts on your wall and connects to your car. Prices range widely based on amperage, features, and brand. Budget Level 2 chargers at $300-$450 include models like the Lectron V-Box and Grizzl-E Classic. These deliver 32-40 amps at 240 volts, adding 25-30 miles of range per hour of charging. They handle basic charging duties reliably but lack smart features like Wi-Fi connectivity, energy monitoring, or app-based scheduling. For most EV owners who simply want to plug in at night and wake up to a full battery, a budget charger does the job perfectly. Mid-range chargers at $450-$600 include the ChargePoint Home Flex, Emporia Smart Level 2, and Wallbox Pulsar Plus. These units offer 40-48 amp output, Wi-Fi connectivity with companion apps, energy usage tracking, and scheduling features that let you take advantage of time-of-use electricity rates. The ChargePoint Home Flex stands out for its adjustable amperage setting from 16 to 50 amps, letting you match the charger to your circuit capacity without buying a different unit. Premium chargers at $600-$800 include the JuiceBox Pro 48 and Enel X JuiceBox. These offer maximum charging speeds at 48 amps, advanced load management that coordinates with your home electrical system, and integration with solar inverters and home energy management systems. The Tesla Wall Connector at $475 delivers premium features including 48-amp output, Wi-Fi connectivity, power sharing between multiple Wall Connectors, and seamless integration with Tesla vehicles. For Tesla owners it is the obvious choice. Non-Tesla EV owners need a J1772 connector charger. When selecting a charger, match the amperage to your circuit. A 40-amp charger needs a 50-amp circuit per the NEC 80-percent continuous load rule, while a 48-amp charger needs a 60-amp circuit. The extra 8 amps from a 48-amp unit adds about 5-7 miles per hour of charging speed, which matters primarily for larger battery EVs like the Ford F-150 Lightning or Rivian R1T that benefit from faster overnight charging. Also consider cord length. Standard chargers come with 18-25 foot cords. If your parking spot is farther from the charger mounting location, look for models with 25-foot cords or purchase an extension rated for EV charging loads.
Electrical Installation Costs Breakdown
The electrical work is typically the larger portion of total installation cost and varies significantly based on your home electrical situation. The simplest installation involves mounting the charger near your electrical panel in a garage that already has panel capacity and clear access. In this best-case scenario, an electrician runs 6-gauge wire a short distance from the panel, installs a 50-amp double-pole breaker, and mounts either a NEMA 14-50 outlet or hardwires the charger directly. Total electrical labor and materials cost is $500-$800 for this straightforward scenario. Most homes fall into the moderate complexity category at $800-$1,400 in electrical costs. This covers situations where the panel is not in the garage, requiring a longer wire run through walls, attic, or crawlspace. Every additional 10 feet of wire run adds approximately $30-$50 in materials and $50-$100 in labor. A 40-foot run from a basement panel to the garage is a common scenario that pushes costs toward the higher end. Complex installations at $1,400-$2,500 involve additional work like running conduit along exterior walls, trenching underground conduit to a detached garage at $15-$25 per linear foot, or installing a sub-panel in the garage. If your main panel is already full and has no available breaker slots, you may need a tandem breaker swap at $100-$200 or a sub-panel addition at $500-$1,200. The most expensive scenario is when the main panel needs upgrading from 100 amps to 200 amps because there is not enough total capacity for the EV charger. A panel upgrade adds $1,800-$3,500 on top of the charger circuit cost. Before getting quotes, check your panel for available 240-volt breaker spaces and total amperage capacity. This information helps electricians provide accurate quotes without a site visit. Materials for a typical installation include a 50-amp double-pole breaker at $15-$25, 6/3 NM-B copper cable at $2.50-$3.50 per foot for interior runs or 6-gauge THWN wire in conduit for exterior runs, a NEMA 14-50 outlet at $12-$18 if using a plug-in charger, and miscellaneous boxes, connectors, and cable clamps at $30-$60. Total materials for a 30-foot run is approximately $120-$180, meaning the majority of installation cost is labor.
Plug-In vs Hardwired Installation
EV chargers come in two installation types: plug-in units that connect to a NEMA 14-50 outlet, and hardwired units that connect directly to the circuit wires inside a junction box. Each approach has advantages that affect both installation cost and long-term flexibility. Plug-in chargers connect to a standard NEMA 14-50R outlet, the same type used for electric ranges and dryers. The electrician installs the outlet, and you simply plug in the charger yourself. The advantage is portability. If you move to a new home, you unplug the charger and take it with you, leaving a useful 240-volt outlet behind. The outlet also allows easy charger replacement or upgrading without calling an electrician. You can even share the outlet with other 240-volt equipment using a smart splitter device like the NeoCharge. Installation cost for a plug-in setup is typically $50-$100 less than hardwired because mounting an outlet is simpler than terminating wires inside a charger junction box. Hardwired chargers connect directly to the circuit conductors inside the charger housing. The electrician runs wire from the panel into the charger, strips the conductors, and terminates them on the charger terminal block. Hardwired installation is required for chargers drawing more than 40 amps on a single circuit because the NEC limits plug-connected loads on 50-amp circuits. The Tesla Wall Connector, when set to its maximum 48-amp output, must be hardwired to a 60-amp circuit. Hardwired installations look cleaner with no visible outlet or plug. They eliminate the potential failure point of a plug connection that can loosen over time from thermal cycling as the plug heats and cools during long charging sessions. For chargers permanently mounted in a fixed location, hardwiring provides a slightly more reliable connection. The downside is that removing or replacing a hardwired charger requires an electrician. If you are choosing between the two approaches, consider how long you plan to stay in your current home and whether you might want to change chargers in the future. For homeowners who plan to stay long-term and want maximum charging speed, hardwired is the better choice. For renters or homeowners who might move within five years, plug-in provides valuable flexibility. Many electricians recommend installing a NEMA 14-50 outlet even if you plan to hardwire, as the outlet provides future flexibility and serves as a convenient 240-volt power source for other tools or equipment.

Federal and State Incentives for EV Charger Installation
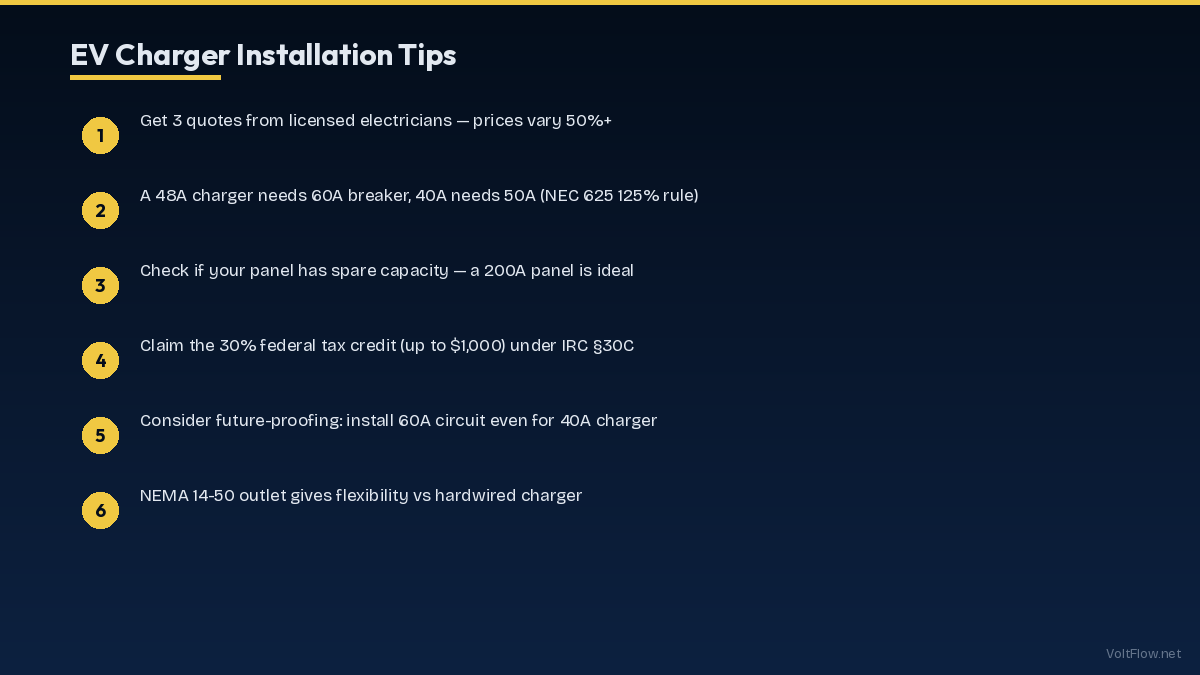
Several financial incentives can significantly reduce your out-of-pocket cost for EV charger installation in 2026. The federal government and many state and local programs offer tax credits, rebates, and utility incentives that stack together. The federal Alternative Fuel Vehicle Refueling Equipment Tax Credit under Section 30C of the Internal Revenue Code provides a tax credit of up to 30 percent of the total installation cost, capped at $1,000 for residential installations. This covers both the charger unit and the electrical installation labor and materials. For a typical $1,500 total installation, the federal credit saves $450. The credit applies to installations in eligible census tracts, which include low-income communities and non-urban areas. Check the IRS guidelines or use the Alternative Fuels Station Locator to verify your address qualifies. State incentives vary widely but can be substantial. California offers up to $2,000 through the California Clean Fuel Reward program for charger installation. New York provides a $500 rebate through NYSERDA for Level 2 charger purchases. Colorado offers a $500 state tax credit for home charging equipment. Oregon provides a $500 rebate through the Clean Vehicle Rebate Program. Connecticut offers a $500 rebate through Energize CT. Many states update their incentive programs annually, so check the Database of State Incentives for Renewables and Efficiency at dsireusa.org for the most current information in your state. Utility company rebates add another layer of savings. Many electric utilities offer $200-$500 rebates for Level 2 charger installation because home EV charging, especially overnight, helps balance grid load. Some utilities provide a free Level 2 charger if you enroll in their managed charging program, which allows the utility to temporarily reduce your charging speed during peak demand periods. Pacific Gas and Electric, Southern California Edison, Duke Energy, Xcel Energy, and Eversource are among the utilities with active EV charger incentive programs. When you stack federal, state, and utility incentives, it is possible to reduce a $1,500 installation to $500-$800 out of pocket or even less. Document all expenses carefully with receipts and invoices because you will need them for tax credit claims. The federal credit is claimed on IRS Form 8911 when you file your annual tax return. State rebates typically require a separate application submitted within 60-90 days of installation.
Installation Timeline and What to Expect
The process from deciding to install a charger to actually plugging in your EV takes one to four weeks depending on your electrical situation and local permitting requirements. Here is a realistic timeline for each phase. During week one, research chargers and get electrical quotes. Order your preferred charger online or from a local retailer. Contact at least three licensed electricians for quotes. Provide each electrician with your panel photo showing available breaker spaces and amperage, the distance from the panel to the desired charger location, and whether you want plug-in or hardwired installation. Most electricians can quote over the phone or via email with photos, saving you time on site visits. During week two, your electrician pulls the permit. Most jurisdictions require an electrical permit for a new 240-volt circuit. Permit processing takes one to five business days in most areas. Some jurisdictions offer same-day permits for standard EV charger circuits. The permit cost is typically $50-$150 and is included in most electrician quotes. During week two or three, the installation happens. The actual work takes two to four hours for a straightforward installation. The electrician installs the breaker, runs wire from the panel to the charger location, mounts the outlet or hardwires the charger, and tests the circuit. You will need to be home during installation but do not need to do anything beyond providing access to the panel and charger location. Some jurisdictions require a post-installation inspection before you can use the charger. The inspector verifies the breaker size matches the wire gauge, the outlet or hardwire connections are correct, proper grounding is in place, and the installation meets NEC and local code requirements. Inspection scheduling adds one to five business days. After inspection approval, your charger is ready to use. Common installation day surprises that can extend the timeline or increase costs include discovering the panel is full with no available breaker spaces, finding that the planned wire route is blocked by ductwork, plumbing, or structural members, realizing the garage wall where you want the charger has no access to the attic or basement for wire routing, and discovering the panel needs a grounding system update to meet current code. You can minimize surprises by having your electrician do a brief walkthrough during the quoting phase to identify potential issues before scheduling the work.
Choosing the Right Charger for Your Vehicle and Driving Habits
The ideal EV charger setup depends on your specific vehicle, daily driving distance, electricity rate structure, and future plans. Here is how to match the charger to your needs. For daily commuters driving 30-60 miles per day, a 32-amp Level 2 charger is more than sufficient. It adds approximately 25 miles of range per hour, meaning a four-hour overnight charge replenishes 100 miles of range. This covers the vast majority of daily driving with time to spare. A budget charger at $300-$400 on a 40-amp circuit handles this workload perfectly, and the lower amperage means lighter-gauge wire and a smaller breaker, saving $100-$200 on installation. For high-mileage drivers covering 80-120 miles per day, such as rideshare drivers or long-distance commuters, a 40-48 amp charger provides the faster charging speed needed to fully replenish overnight. At 48 amps, you add approximately 44 miles per hour, recovering 120 miles in just three hours. The faster charger ensures you start every morning at your target charge level even if you arrive home late. For households with multiple EVs, consider two lower-amperage chargers rather than one high-amperage unit. Two 24-amp chargers on a shared 60-amp circuit, using power-sharing technology like the Tesla Wall Connector supports, charge both vehicles overnight at a reduced rate that still meets daily needs. This approach costs less than running two separate 50-amp circuits from your panel. For homes with time-of-use electricity rates, choose a smart charger with scheduling capability. The ability to automatically start charging at midnight when rates drop from $0.35 per kWh to $0.12 per kWh saves $30-$60 per month compared to charging immediately upon arriving home during peak hours. Most mid-range and premium chargers include scheduling. Budget chargers without this feature can still work with TOU rates if your vehicle has built-in charge scheduling, which all Teslas and most modern EVs support. For renters and homeowners who may move within a few years, a portable plug-in charger provides the most value. You take it with you when you leave. Some plug-in chargers like the ChargePoint Home Flex include a mounting bracket for wall installation that makes them look permanent while remaining easy to remove. If your landlord agrees to install a NEMA 14-50 outlet, the portable charger setup costs just $400-$600 total and moves with you to your next home. For homeowners planning solar panel installation, choose a charger that integrates with your planned solar inverter or home energy management system. Brands like Wallbox and JuiceBox offer solar integration features that prioritize charging when solar production is highest, maximizing your use of free solar electricity and minimizing grid purchases. This integration becomes increasingly valuable as electricity rates continue rising while your solar production remains free after the system payback period.